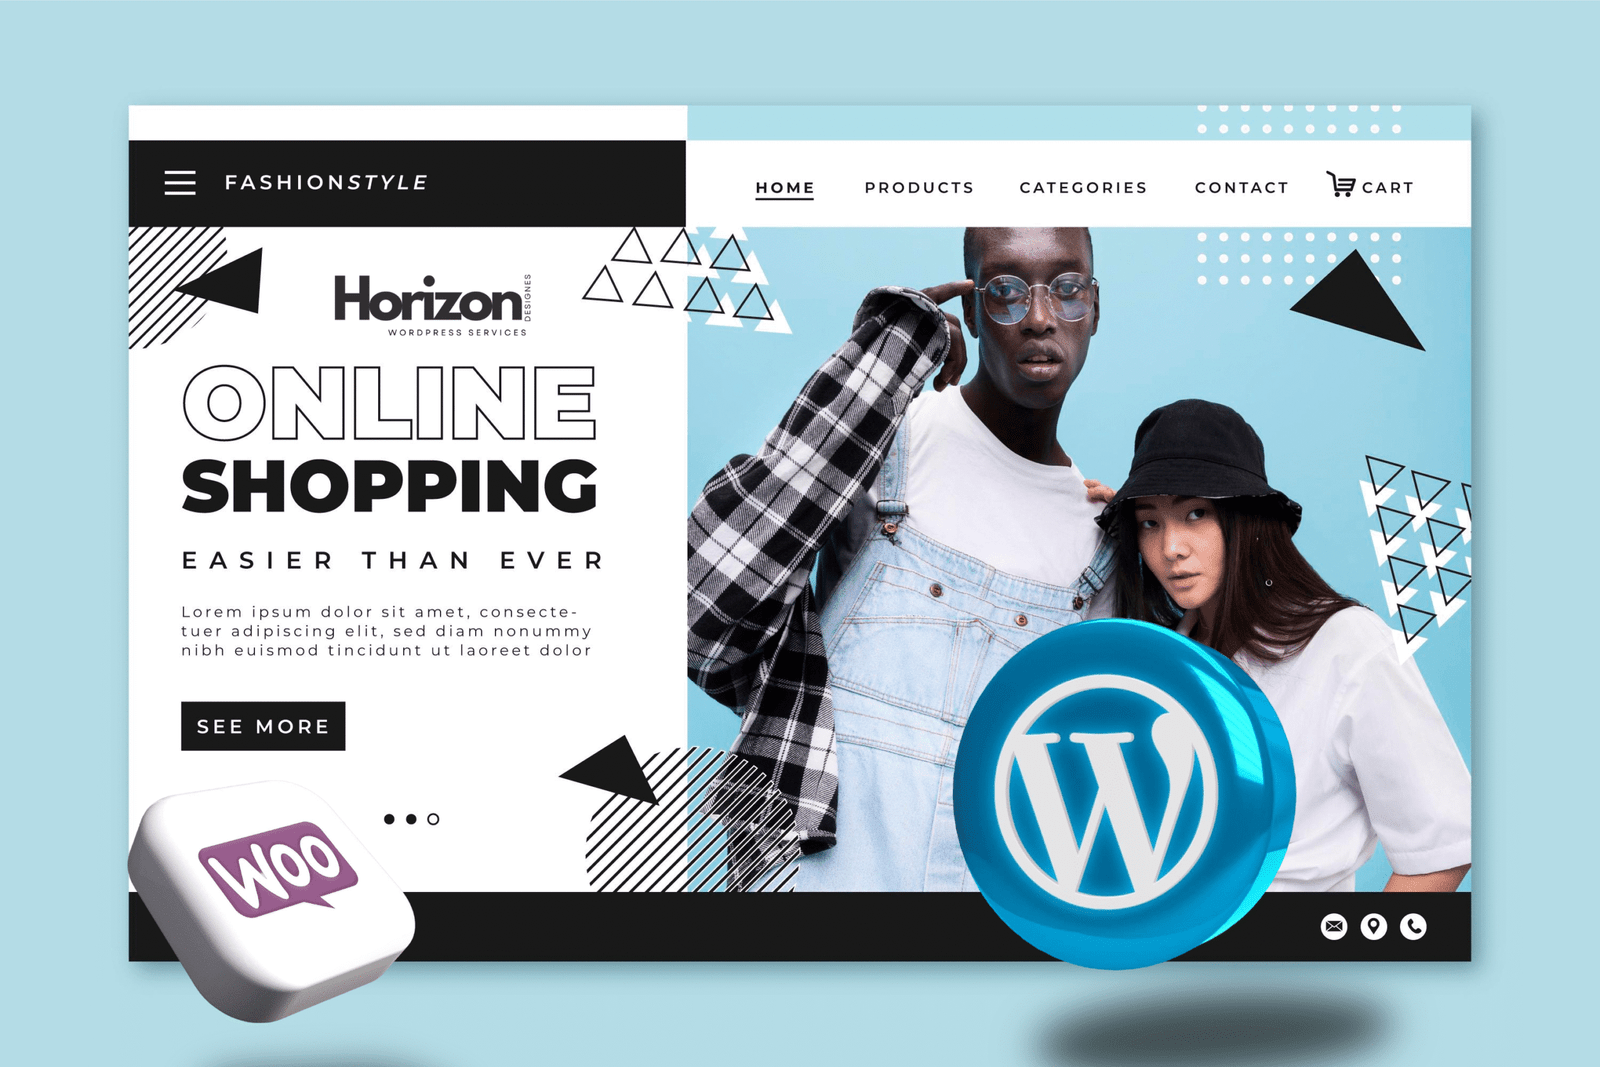
The world of online shopping continues to expand rapidly, and in 2025, creating your own e-commerce store is easier — and more profitable — than ever before. Whether you’re launching a new business, selling handmade products, or moving your existing store online, WordPress gives you the flexibility, control, and affordability to make it happen.
In this comprehensive guide, you’ll learn everything you need to start an online store with WordPress — step by step. From choosing your domain and hosting, to setting up WooCommerce, customizing your design, and optimizing for SEO — we’ll cover it all.
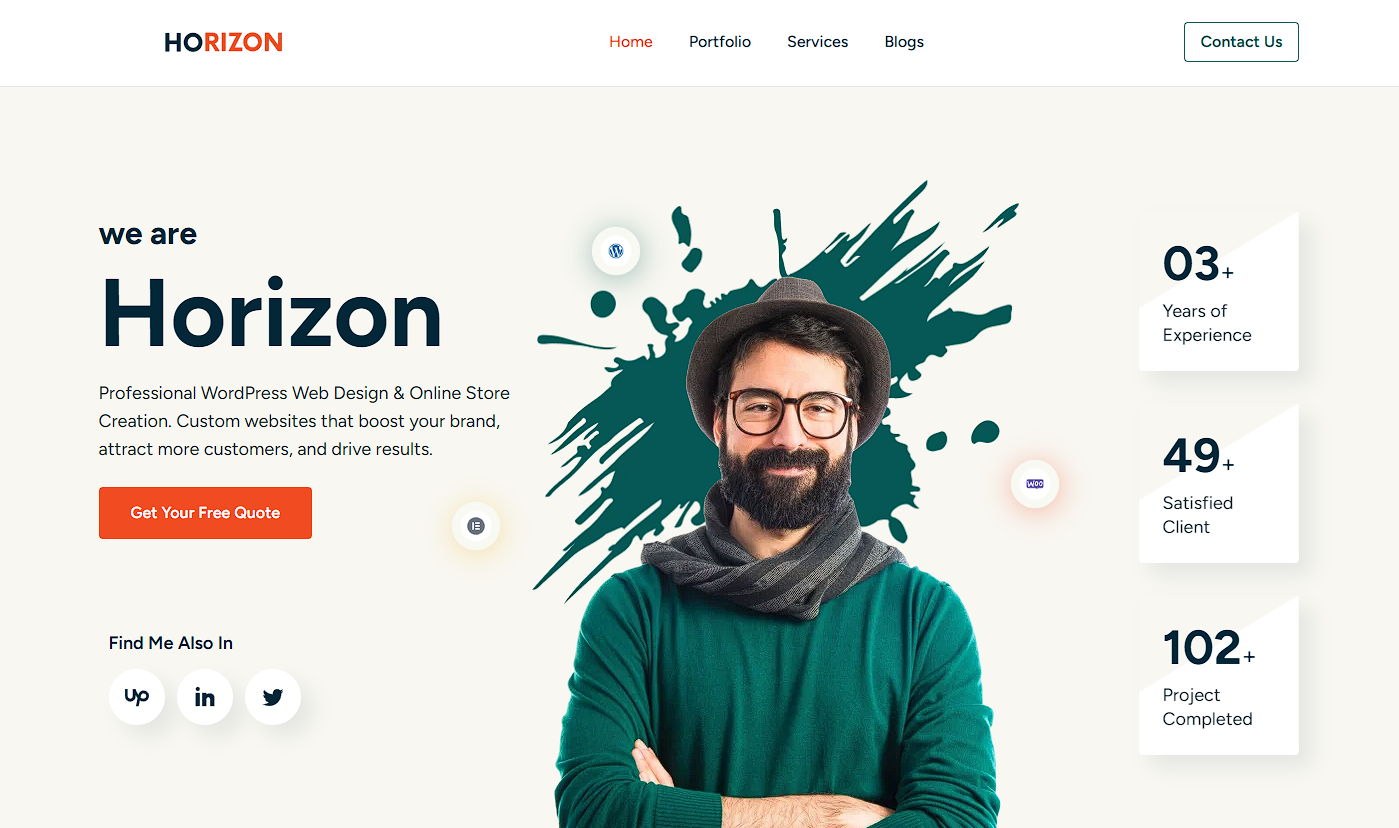
And if you prefer expert help to build a professional online store that truly represents your brand, Horizon WP Services can help you design, build, and optimize your WordPress e-commerce site from start to finish.
1. Why Choose WordPress for Your Online Store
WordPress is the world’s most popular content management system, powering more than 40% of all websites. But what makes it so ideal for e-commerce?
Here are the key reasons:
Full Ownership: You own your website, domain, and data — no hidden restrictions or monthly platform fees.
Scalability: Start small and grow big — from a single product to a large multi-category store.
Customization: Thousands of themes and plugins let you design the perfect shopping experience.
WooCommerce Integration: WooCommerce turns any WordPress site into a powerful online store.
SEO Advantage: WordPress is inherently SEO-friendly, helping your products appear on Google faster.
Community & Support: Millions of users, developers, and resources are available worldwide.
With the right setup, WordPress can rival platforms like Shopify or Wix — and even outperform them in flexibility and long-term cost.
2. Step 1 – Choose the Right Domain and Hosting
Your online store begins with two essentials:
A domain name (your web address, e.g., yourstore.com)
A web hosting provider (where your website’s files are stored)
Choosing a Domain Name
Keep it:
Short, clear, and easy to remember
Reflective of your brand or product category
Ending with a trusted extension like .com or .store
Selecting Hosting
For an online store, you need reliable, fast, and secure hosting.
Look for:
SSL certificate (for secure payments)
24/7 support
High uptime guarantee
Optimized servers for WordPress
Providers like Hostinger, SiteGround, or Bluehost offer great WordPress hosting plans with one-click installation.
3. Step 2 – Install WordPress and WooCommerce
Most hosts allow one-click WordPress installation. After setup, you can log in to your WordPress Dashboard (yourdomain.com/wp-admin).
Next, install WooCommerce, the free and most popular e-commerce plugin for WordPress.
How to Install WooCommerce
Go to Plugins → Add New
Search for “WooCommerce”
Click Install Now → Activate
Follow the setup wizard to configure:
Store details
Currency
Product types (physical, digital, or both)
Payment methods (PayPal, Stripe, etc.)
WooCommerce gives you everything needed to manage your online store — from inventory and orders to shipping and taxes.
Check our Pluguins installatin & Setup services !
4. Step 3 – Select a Theme and Customize Your Design
Your theme defines your store’s look and feel. Choose one that’s responsive, fast, and compatible with WooCommerce.
Recommended Themes for E-Commerce
Astra – Lightweight, fast, and versatile.
OceanWP – Highly customizable with modern layouts.
Storefront – Official WooCommerce theme, clean and reliable.
Blocksy or Kadence – Great performance and modern design.
After activating your theme, use the WordPress Customizer or Elementor page builder to:
Edit your homepage
Change colors, fonts, and layouts
Add your logo and brand identity
Create engaging product pages and call-to-action buttons
💡 Pro Tip: Keep your design simple and intuitive — your customers should find what they want in two clicks or less.
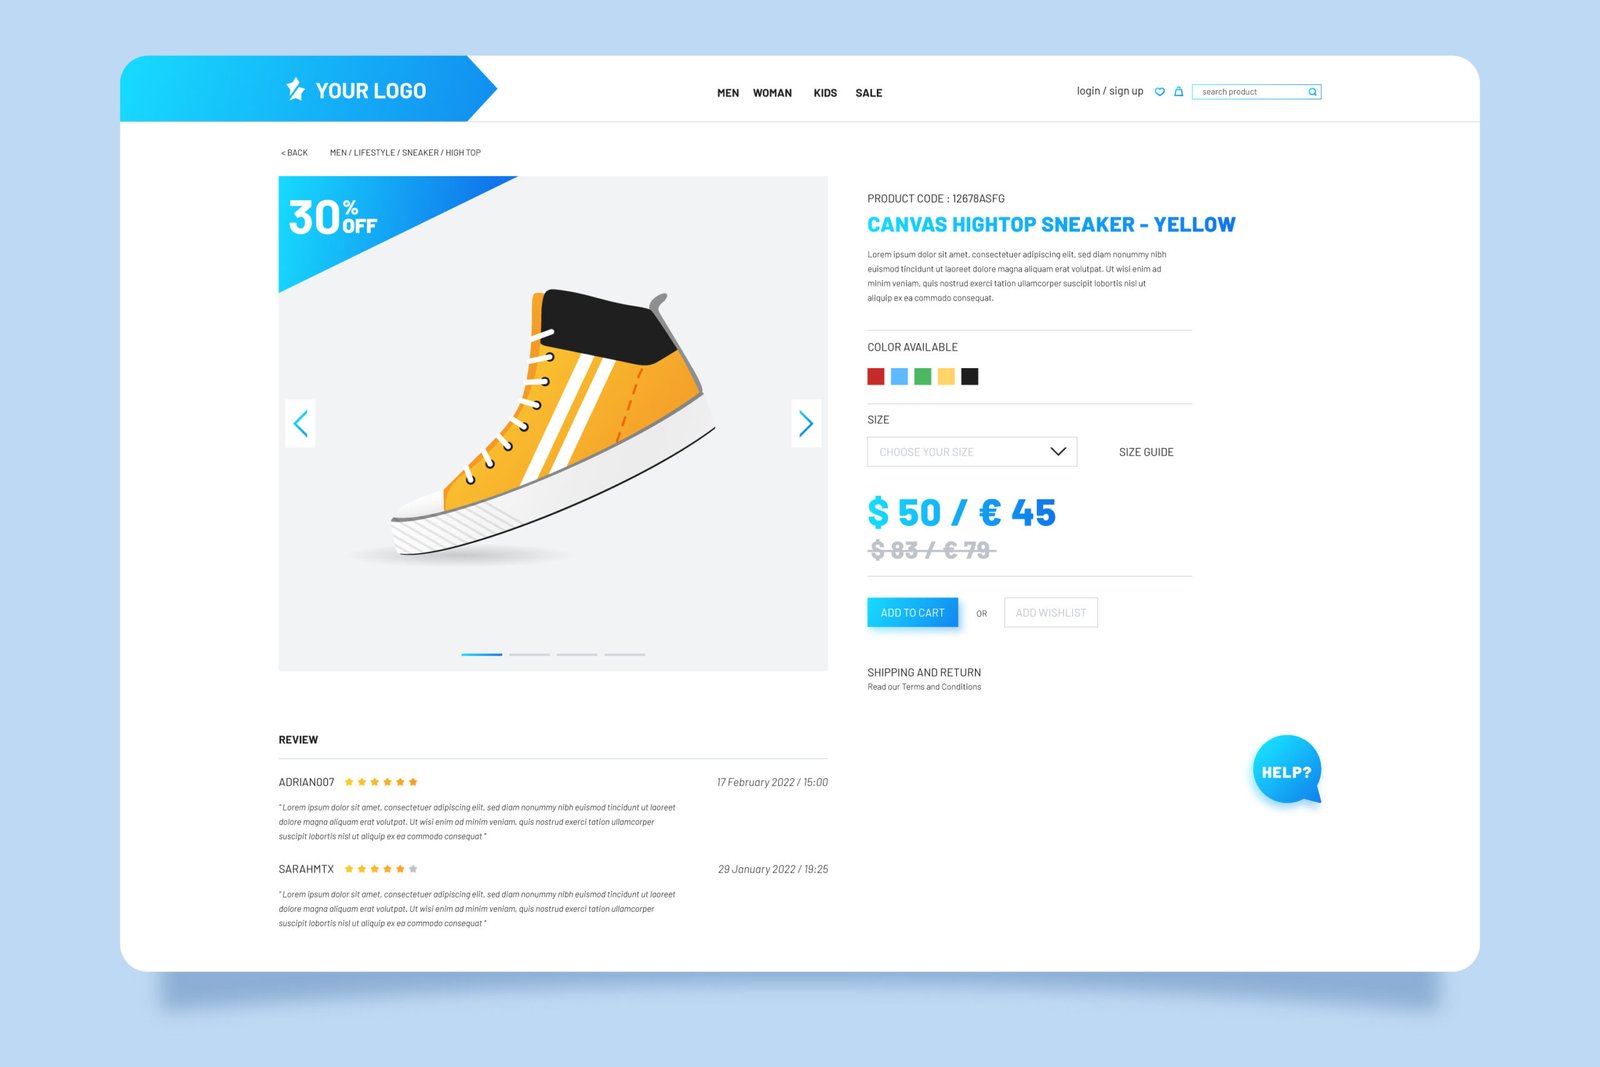
5. Step 4 – Add Products, Categories, and Descriptions
Now it’s time to fill your store with products!
Go to Products → Add New in WooCommerce.
For each product, include:
Title: Clear product name
Description: Compelling and informative details
Images: High-quality photos (at least 1000×1000 px)
Pricing: Regular and sale prices
Inventory: Stock management and SKU
Categories & Tags: Organize products for easy browsing
Writing Product Descriptions That Convert
Focus on benefits, not just features
Use emotion-driven language
Include keywords naturally for SEO
Add social proof (reviews, testimonials)
Example:
Instead of “Leather backpack, brown, large,” say
“Handcrafted brown leather backpack built for durability and style — perfect for travel, work, or school.”
6. Step 5 – Set Up Payments, Shipping, and Taxes
WooCommerce lets you manage all payment, shipping, and tax settings directly from your dashboard.
Payments
Popular options include:
PayPal
Stripe
Bank Transfer
Cash on Delivery
You can also integrate regional gateways for local customers.
Shipping
Under WooCommerce → Settings → Shipping, configure:
Shipping zones (regions you deliver to)
Shipping methods (flat rate, free shipping, local pickup)
Shipping classes (for different product sizes or weights)
Taxes
If you sell physical goods, enable automatic tax calculation or manually set rates per region.
7. Step 6 – Optimize for SEO and Conversions

Having a beautiful store is not enough — it must also be searchable and convert visitors into buyers.
Install an SEO Plugin
Use Yoast SEO or Rank Math to:
Add meta titles and descriptions
Generate sitemaps
Optimize product pages for Google
On-Page Optimization Tips
Use keyword-rich titles (e.g., “Buy Handmade Leather Bags Online”)
Add alt text to all images
Improve site speed using caching plugins like WP Rocket or LiteSpeed Cache
Ensure mobile responsiveness
Conversion Optimization
Add clear CTAs (“Add to Cart,” “Buy Now”)
Display trust signals (reviews, secure badges)
Offer discounts or free shipping thresholds
Use email marketing plugins like MailPoet or Mailchimp to follow up with visitors
8. Step 7 – Secure and Maintain Your Store
Security is critical for any e-commerce site.
Here’s what to do:
Install SSL: Encrypts all data (check if your host provides it free).
Use Security Plugins: Like Wordfence or iThemes Security.
Backup Regularly: Use UpdraftPlus or Jetpack Backup.
Update Plugins and Themes: Outdated tools are security risks.
Use Strong Passwords: Protect admin and customer accounts.
💡 Bonus Tip: Always test your checkout process and payment gateways before launching publicly.
9. Conclusion
Starting an online store with WordPress is one of the smartest moves for entrepreneurs in 2025. With WooCommerce, the possibilities are endless — from selling physical products to digital downloads or services.
By following this guide, you now have a clear roadmap to create, customize, and launch your online store successfully.
And if you want to save time and ensure professional results, Horizon WP Services is here to help you design, build, and grow your e-commerce business with confidence.
Why Work with Horizon WP Services
Building a WordPress store can be a rewarding learning experience — but it can also be time-consuming and technically challenging.
That’s where Horizon WP Services comes in.
Our team helps you:
Design a professional and responsive store
Set up WooCommerce and configure all essentials
Optimize for SEO, speed, and conversion
Integrate payment gateways and analytics
Provide maintenance and updates to keep your store secure
Whether you’re just starting or need to improve an existing website, Horizon WP Services offers affordable solutions tailored to your goals.
Ready to bring your online store to life?
Horizon WP Services specializes in stunning, functional websites that combine cutting-edge design with proven conversion strategies. Contact us to bring your vision to life
Looking for professional WordPress security services? Horizon WP Services provides comprehensive security solutions that protect your business from cyber threats. Contact us today for a free security consultation and vulnerability assessment.